Share Wifi password with an Jinga Joy

How to generate a Wi-Fi QR code on a Jinga Joy
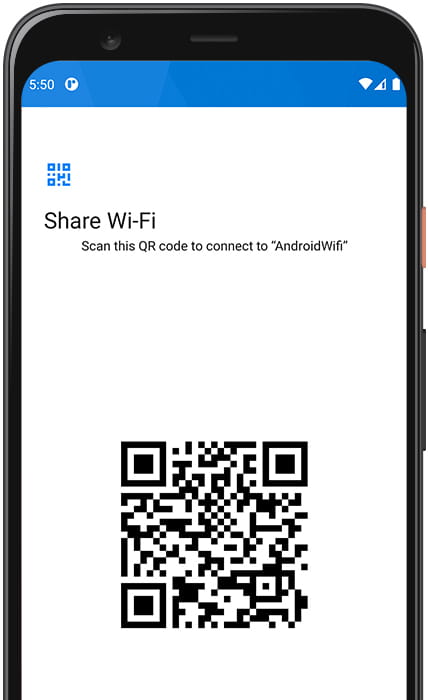
If you want to share the password or key of the network your Jinga Joy is connected to, and quickly set it up on another Android device (whether it's a Jinga or another brand), this tutorial will show you how. We'll guide you on using the native method included in Android 10 and later versions to generate a QR code with the Wi-Fi password.
The Jinga Joy comes with Android 7.0 out of the box, though it may have received updates over time.
Once you generate the QR code on your Joy, you can scan it with the camera of the other device or download it as an image. This way, you can reuse the code whenever you need without repeating these steps.
In the final step, you'll also be able to view the password in case you need to copy it or manually enter it on another device that cannot read QR codes.
Estimated time: 2 minutes.
1- First step:
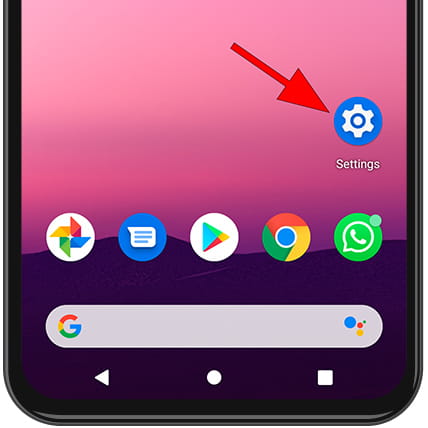
First of all, you must make sure that you are connected to the Wi-Fi network that you want to share from your Jinga. If so, access the Joy settings by tapping the gear wheel icon. If you do not see it on the Jinga Joy home screen, swipe up from the bottom of the screen to find it.
2- Second step:
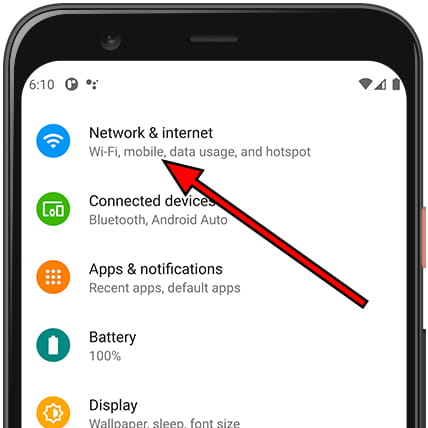
Once inside the Joy, settings, the first option that should appear is "Networks and Internet" or "Connections". Press to access the Wi-Fi network settings.
3- Third step:
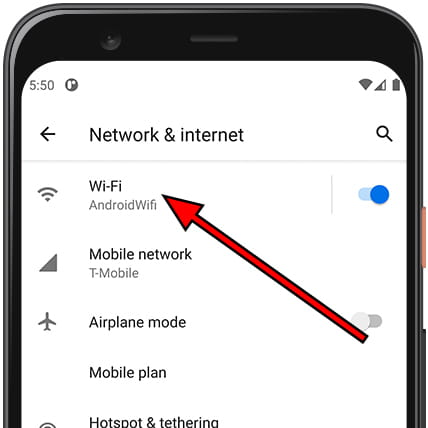
Within the network and internet settings of your Jinga Joy, the first section that will appear is the Wi-Fi connection.
Here, check that it is connected, the icon on the right should appear in blue, if not, click on the icon on the right with a single touch to activate it and make it appear in blue. Once Wi-Fi is activated on your Jinga Joy, click on the left on "Wi-Fi" to access its settings.
4- Fourth step:
Once you are in the Wi-Fi network settings, the available Wi-Fi networks will appear in a list, both those that you have configured and those that you do not. The first Wi-Fi network that appears is the network to which your Jinga Joy is connected, click on the gear icon that appears to the right of the name of the wireless network to see the details.

5- Fifth step:
When accessing the details of the Wi-Fi network saved in your Jinga Joy and whose access code you want to share to connect from another device, you will see a QR icon under the name of the wireless network on the right with the text “QR Code”. Press to see the QR code.
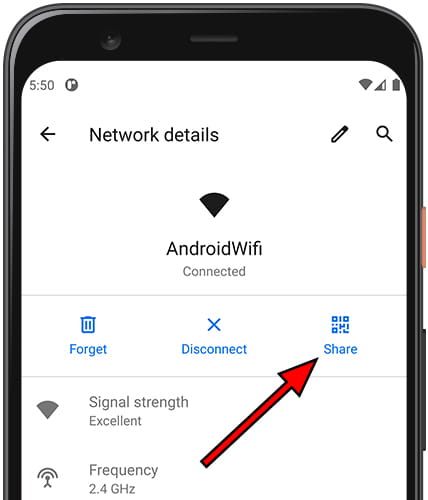
6- Sixth step:
The QR code will appear on the Jinga Joy screen and the password will appear written below. Scan the QR code from the other device you want to connect to the Wi-Fi web. If you don't know how to read a QR code, click here to see the instructions.
If what you want is to save the QR code for later or to print it, you can take a screenshot, if you don't know how to do it on your Jinga Joy click here to see how to take screenshots on Jinga Joy.
