Screenshot in Meta Quest 3

How to take a screenshot or screen capture on a Quest 3
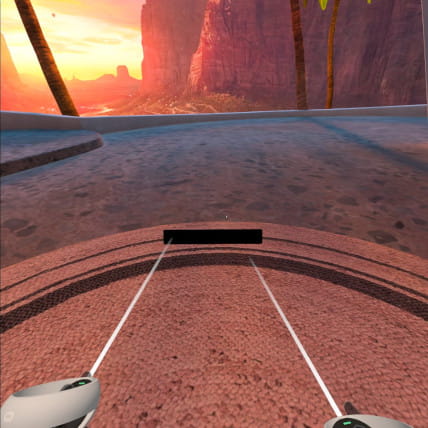
Just like on a mobile phone, computer or tablet from your Meta Quest 3 you can take screenshots of what you are seeing in your virtual reality glasses and save them in a still image that you can share through social networks or export them to your mobile phone.
This is a functionality included in the system so you will not need to install any application or perform any special configuration.
Estimated time: 2 minutes.
1- First step:
Locate the “Meta” button on your right-hand controller, it's the flat button on the bottom right of the controller with the M for Meta symbol. Press it and keep it pressed.

2- Second step:
Without releasing the “Meta” button, press the trigger button of the same controller on your right hand once. A sound will be heard indicating that the screenshot has been taken on your Meta Quest 3.

3- Third step:
A pop-up message will appear indicating that the screenshot has been taken from your Meta Quest 3, the image is saved in the device's internal memory.
Tap on the pop-up message with either trigger to open or share the screenshot.
If you don't want to view or send the screenshot at this time, you can still use your VR goggles and use those screenshots later.

4- Fourth step:
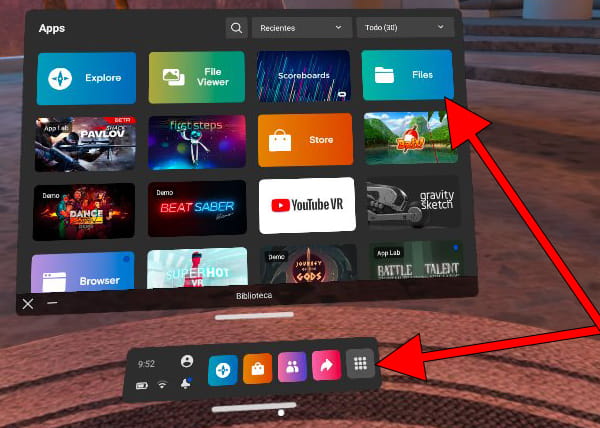
To view all of your Quest 3 screenshots, press the Meta button on the right controller to open the main menu. Click on the application icon and look for the “Files” application, press the trigger of the controller to open this application.

5- Fourth step:
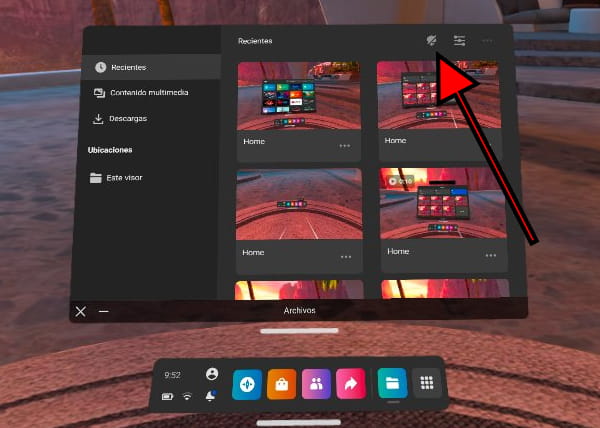
Once inside the “Files” application you will be able to see all the screenshots and video recordings made on your Quest 3.
You can share the images directly from the virtual reality glasses, however, the options are limited to social networks of Meta.
Tap the cloud sync icon at the top of the app to be able to view images directly from your mobile phone through the Oculus app.

Get €30 credit when you buy your Meta Quest 3 from this link.
Get a 25 percent discount when you purchase the following games for Meta Quest 3:


