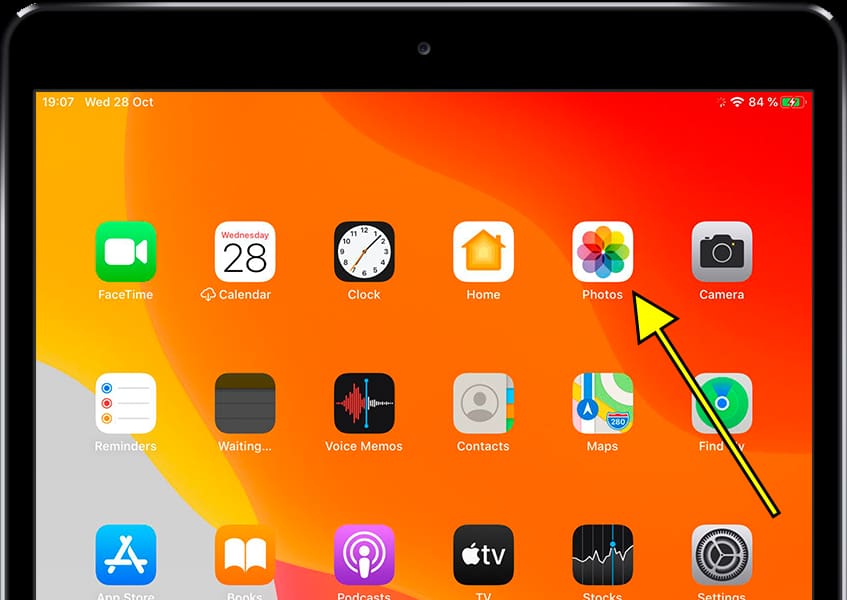
Screenshot in Apple iPad 10.2

How to take a screenshot or screen capture on an iPad 10.2

One essential feature of modern tablets is the ability to take screenshots, capturing an image of what is currently displayed on your Apple iPad 10.2's screen.

Although there are apps for this function, you don’t need to install any additional ones, as it’s already built into the iPadOS operating system.

Taking a screenshot allows you to save a WhatsApp conversation, a Tinder message, an Instagram story, a Facebook photo, or a video frame directly to your Apple device's memory.

If, on the other hand, you want to record a video of your Apple iPad 10.2's screen, such as a video call, a story, a web page, or part of an internet video, you can follow the next tutorial: Record screen on Apple iPad 10.2

Table of Contents:

First method:

If you want to make a screenshot to your Apple iPad 10.2 you have to follow these simple steps:

Estimated time: 2 minutes.

1- First step:

First, go to the screen that you want to capture a screenshot of on your Apple iPad 10.2, whether it's a web page, chat, or application.
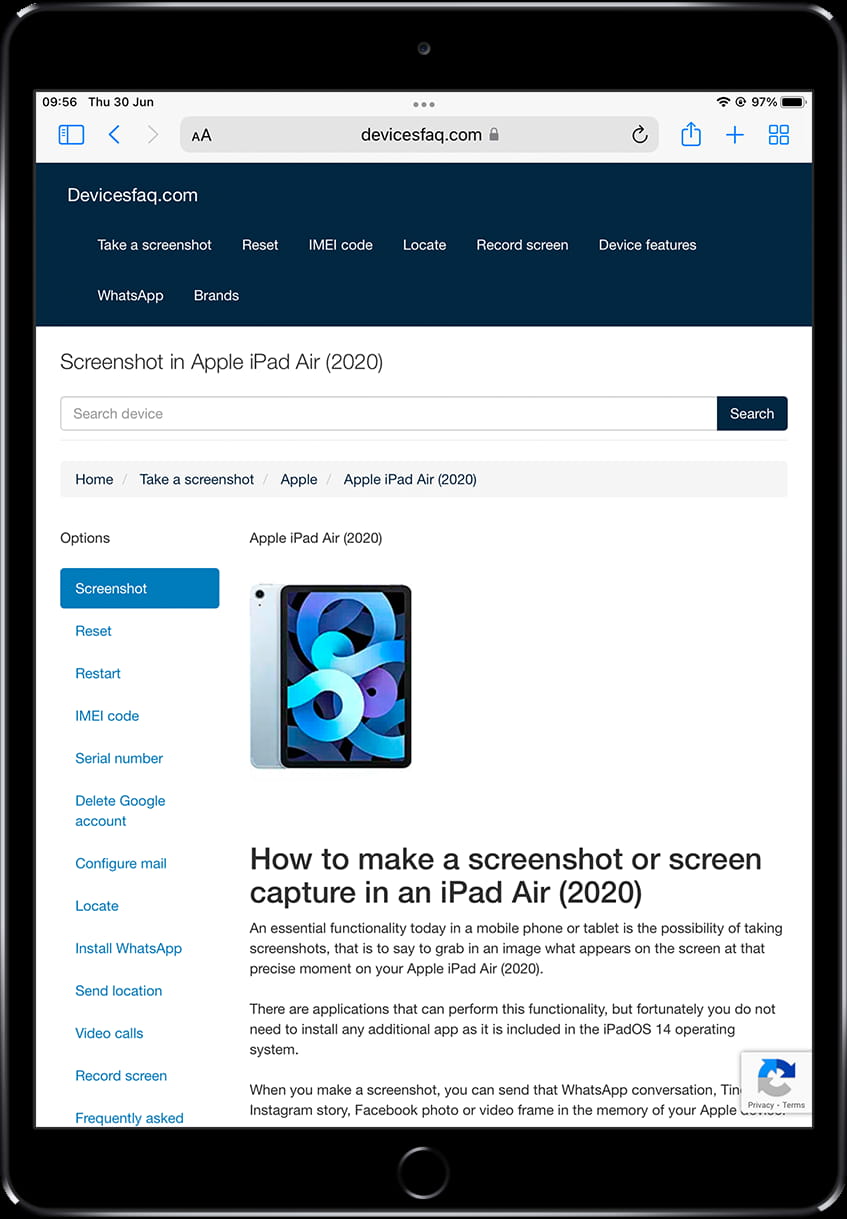
Screen to capture in iPad 10.2

2- Second step:

Press the top or power button and the home button in your Apple iPad 10.2 simultaneously and release the two buttons immediately, you will hear a click or sound of a photo and the screen will flash.
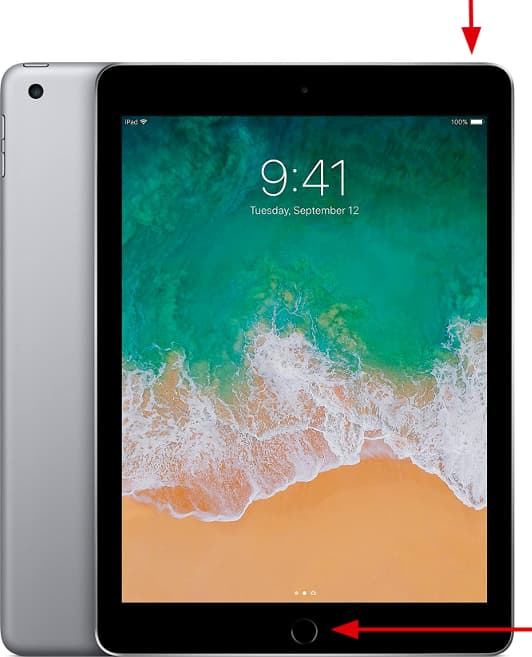
How to take a screenshot or screen capture on an iPad 10.2

3- Third step:

The captured image will be minimized and will appear in the lower part of the screen on the left of the iPad 10.2 for a few seconds.

If you want to edit or share the capture immediately, click on the thumbnail before it disappears. If you don't want to use the screenshot at this time, you can ignore the thumbnail and continue using the device, taking more screenshots if desired.

Screenshot Step 3 iPhone

4- Fourth step:

If you have clicked on the thumbnail, the screenshot editor will open, allowing you to edit the screenshot. You can cut it, draw on it, erase parts, add arrows, circles, comment bubbles, use the magnifying glass, add text, or add a signature. These tools can be very useful for highlighting important information or annotating the screenshot before sharing it with others.
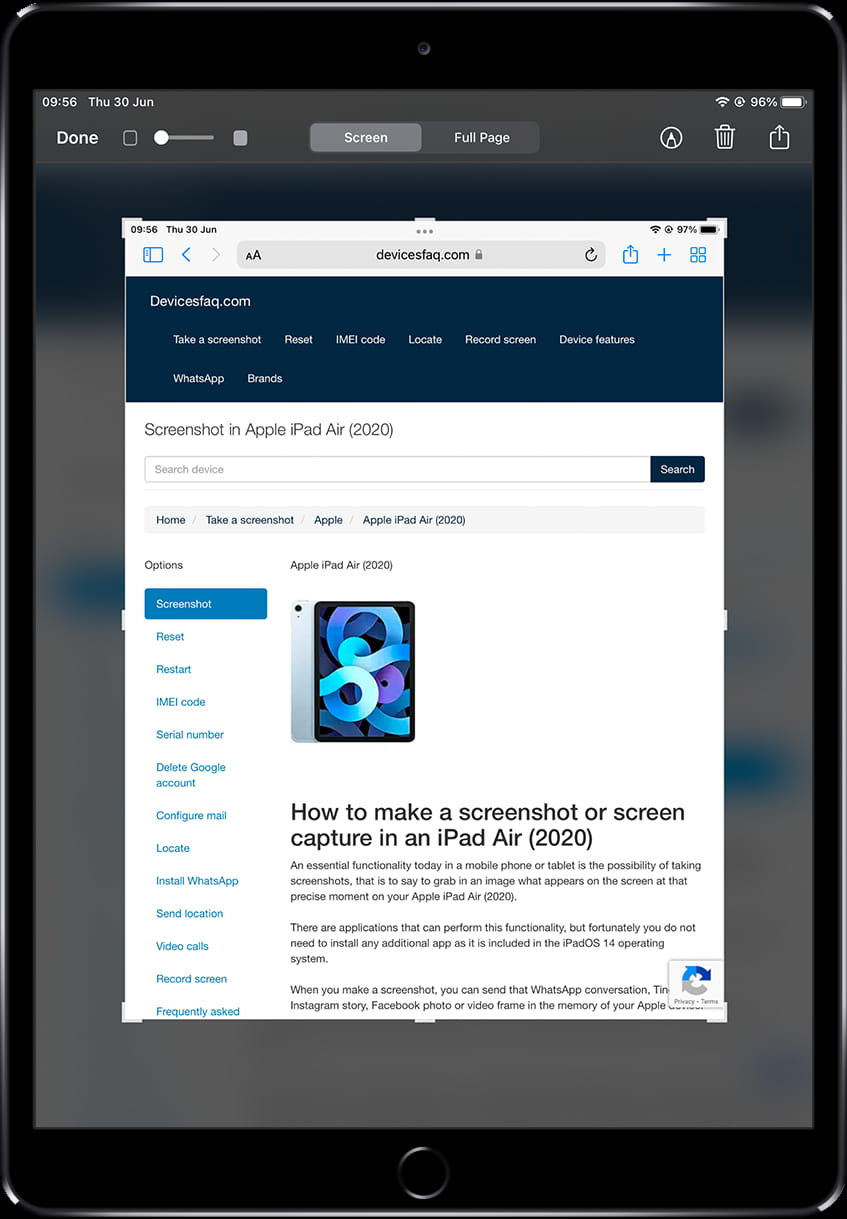
Edit iPhone screenshot

5- Fifth step:

Once you have finished editing the capture, press “OK” to save it in the photo gallery of your iPad 10.2. A confirmation prompt will appear, asking you to either save the screenshot in the photo gallery or delete it.

Share iPhone screenshot

6- Sixth step:

If you want to send the capture, press the share button, select the app where you want to share it, and once it has been shared, press “OK.” A confirmation prompt will appear, asking you to either save the capture or delete it.

Send iPhone screenshot

Users rating on capture screen in Apple iPad 10.2

10.00 / 10 (2 votes)

Screenshot without using the buttons on iPad 10.2

There is another method to take screenshots without using the buttons on the Apple iPad 10.2, it is an accessibility setting but it can help us if any of the buttons on the iPad 10.2 do not work, it is very difficult for us to press the two buttons at the same time or you simply look for the convenience of being able to take a capture without using the buttons.

Check out the tutorial “How to take a screenshot without buttons on iPhone” to be able to take screenshots with two or three taps on the back of the Apple iPad 10.2.

How to capture a full page in Apple iPad 10.2?

If you want to capture a complete web page on your iPad 10.2, you should first be aware that this method only works with Apple's Safari browser. Therefore, you should open the page you want to capture with scrolling using the Safari browser.

To take the screenshot, follow the method indicated above. When you take the screenshot, the thumbnail will appear in the lower left of the screen on the Apple iPad 10.2 screen. Click on the thumbnail to access the screenshot editing application. You will see the text “Full page” appear at the top right. Click on it and you will see the full screenshot along with the scrolling on the right side of the screen.

You can now add notes, draw on the capture, crop, rotate and share the screenshot by clicking on the arrow icon in the upper right of the screen. When you are finished, press “Done” to save the edited screenshot in the photo gallery

Scrollshot in Apple iPad 10.2

Where are screenshots saved on Apple iPad 10.2?

All the screenshots taken on an Apple iPad 10.2 are saved in the photo gallery both in the recent images together with the photos captured with the camera and in a specific folder that you can see below.
Screenshots are saved in PNG format.

Go to the home screen where you will find the icon of the photo gallery of your Apple iPad 10.2, it is an icon of a kind of flower with each petal of a different color.

Apple iPad 10.2 Photo Gallery

In recent you will be able to see the screenshots that you have taken recently, they are also saved in a specific category called "Captures", to see this category go down to the "Types of content" section, you will see the "Captures" category, click to access and see all the screenshots taken on your Apple iPad 10.2.

Content types: screenshots Apple iPad 10.2

About the device:

Apple iPad 10.2 is a tablet with dimensions of 250.6 x 174.1 x 7.5 mm (9.87 x 6.85 x 0.30 in), a weight of 483 grams, a screen size of 10.2 inches, 324.6 cm2 (~74.4% screen-to-body ratio) and a screen resolution of 1620 x 2160 pixels, 4:3 ratio (~264 ppi density).

It has a processor Quad-core 2.34 GHz (2x Hurricane + 2x Zephyr), a graphics card PowerVR Series7XT Plus (six-core graphics), a RAM memory 2 GB and an internal memory of 32 GB, 128 GB.

The Apple iPad 10.2 comes from the factory with the iPadOS operating system.

Share this information:

Share on WhatsApp Share on Telegram

Has it been useful?

Questions and problems from users about "How to make a screenshot in Apple iPad 10.2"

There are no questions yet about "How to make a screenshot in Apple iPad 10.2"; you can write the first one.

Related articles

You might be interested in:

Record screen
Guided access
Frequently asked questions
Scan documents
Device features
Send location
Video tutorials
Wallpaper