Factory reset HiSense U41 Lite

How to reset or restore a HiSense U41 Lite
If your mobile/cell phone HiSense U41 Lite works very slow, it hangs, you want to bypass screen lock, or memory is full, and you want to erase everything, or you want to sell it or give it away and you want nobody to be able to access your files and passwords. You can do a factory reset so that it returns to be like the first day.
In the following steps we explain how to format the HiSense U41 Lite to erase all your information and make it totally clean as it came out of the store.
Before doing a factory reset, we recommend deleting all the accounts on the device, specifically it is useful to unlink the Google account if you are going to sell, donate, or give away your U41 Lite. This will avoid problems for the new user, as some newer devices include a functionality called FRP (Factory Reset Protection) that requires the same Google account or PIN code with which the HiSense U41 Lite was initially configured when factory resetting a device.
Keep in mind that a reset or return to the factory state on a mobile/cell phone deletes all its content, so make a backup of your data before doing it if you don't want to lose everything.
In case you do not want to erase the data from the device, you can try to restart the HiSense U41 Lite..
There are two ways to do a reset on a HiSense U41 Lite one through the mobile options and another more complete from the recovery mode.
Table of Contents:
Restore from the options of HiSense U41 Lite
If you want to make a reset using the device options to return to the factory state a HiSense U41 Lite you have to follow these simple steps:
Estimated time: 5 minutes.
1- First step:
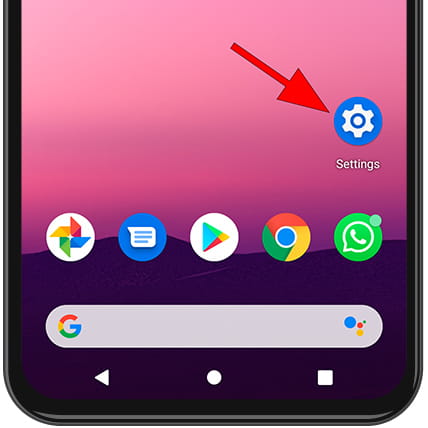
To access the settings menu on your HiSense HWCD101E, KS102, look for the icon that resembles a cogwheel. Click or tap on it to open the settings menu.
2- Second step:
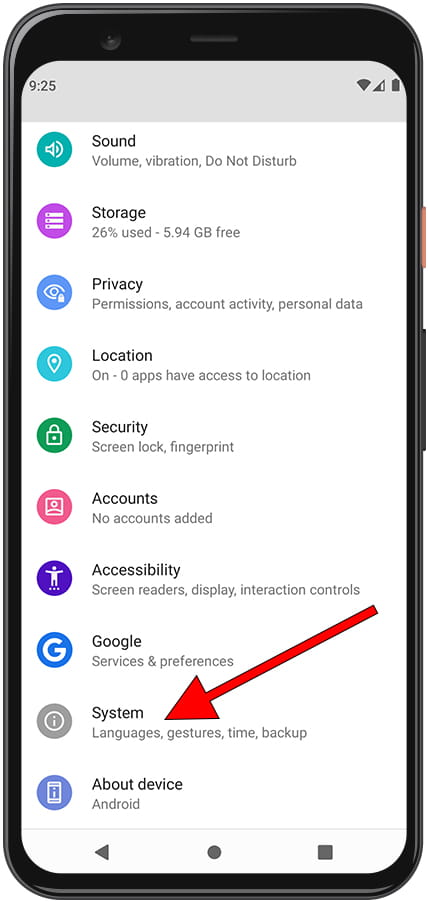
Scroll down the HiSense U41 Lite settings to the bottom where you will see the section called “System”, click or tap to continue.
3- Third step:
If you see a section called “Advanced” click to display the advanced options of the HiSense U41 Lite.
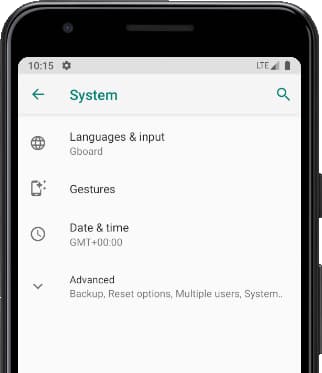
4- Fourth step:
Click on “Reset options” from this section it will allow us to restore network options, applications or reset the HiSense U41 Lite completely.
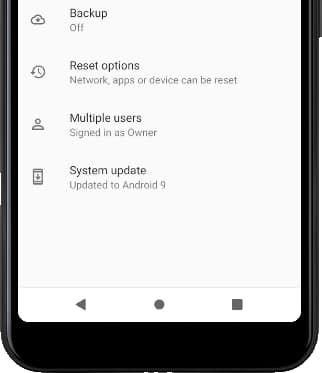
5- Fifth step:
Click on the last option called “Erase all data (factory reset)” or simply “Factory data reset”.
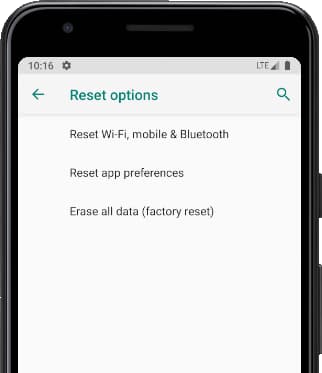
6- Sixth step:
A first confirmation message will appear reminding you that all your data will be deleted from this device, the data you have uploaded to Google, Facebook, Twitter, Instagram or backup copies that you have in the cloud, such as Google Drive, Dropbox or One Drive, will not be deleted. Press “Reset phone”.
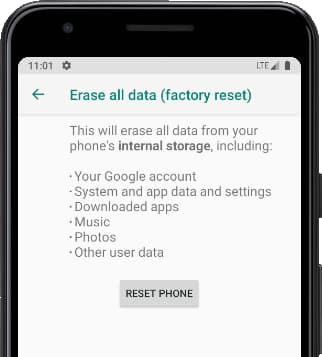
7- Seventh step:
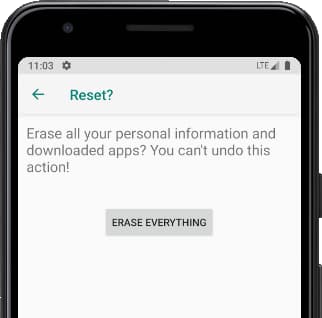
A second confirmation message will appear indicating that all information stored on the HiSense U41 Lite and all downloaded applications will be erased and reminding that this action cannot be undone. If you agree, click on “Erase Everything”.
8- Eighth step:
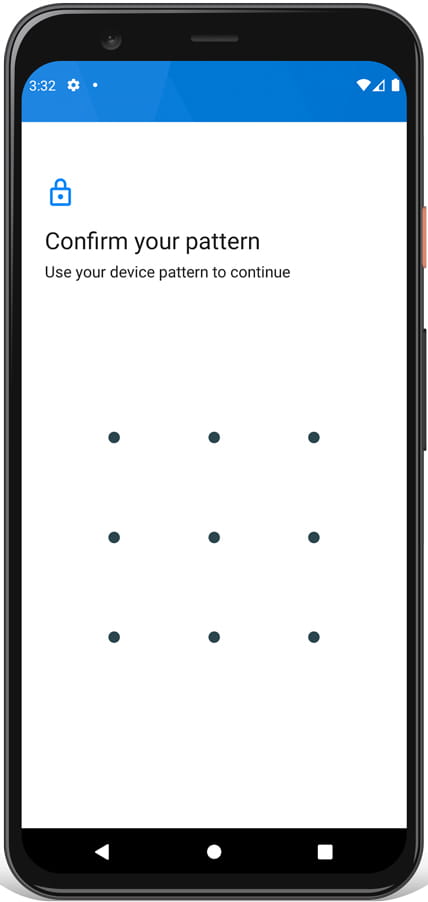
If necessary, draw the screen unlock pattern or enter the screen unlock password or PIN to continue.
9- Ninth step:
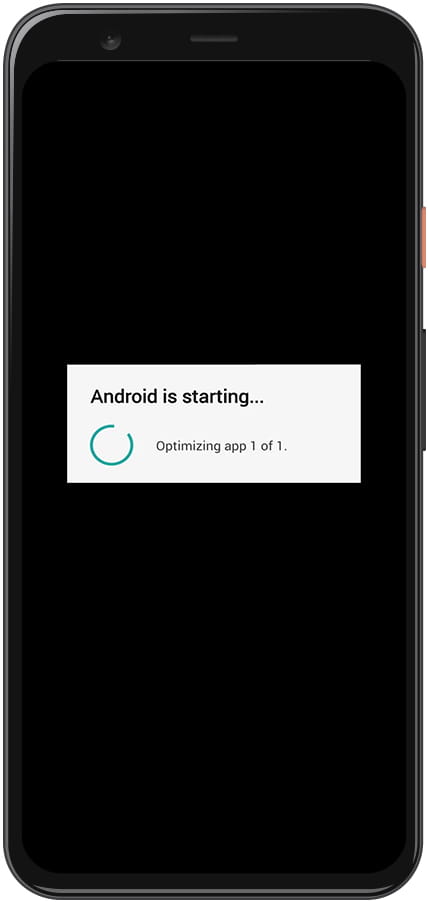
Your device U41 Lite from HiSense it will restart and take several minutes to start while restoring the device to its factory state and optimizing the applications pre-installed in the operative system Android Go.
If you cannot turn on the HiSense U41 Lite and therefore you cannot perform the factory restore from the device settings, this method does not work for you and you should consult the tutorial to hard reset HiSense U41 Lite.
