Install WhatsApp Messenger in Apple iPad Wi-Fi

How to install WhatsApp in an Apple iPad Wi-Fi
WhatsApp is an instant messaging application belonging to Facebook since 2016, it is the most used messaging application in the world that is why it is very useful to have it installed on your Apple iPad Wi-Fi.
In this tutorial we will provide you with instructions to download, install and configure WhatsApp in a iPad Wi-Fi in a few minutes and in a few simple steps.
Tablet devices such as iPad Wi-Fi cannot install WhatsApp since it is reserved for cellular devices with their own telephone number but this is not a problem since you can have WhatsApp or WhatsApp Business in iPad Wi-Fi through an alternative method.
To perform this method you will need an internet connection and a mobile / cell phone to verify the phone number.
Estimated time: 5 minutes.
1- First step:
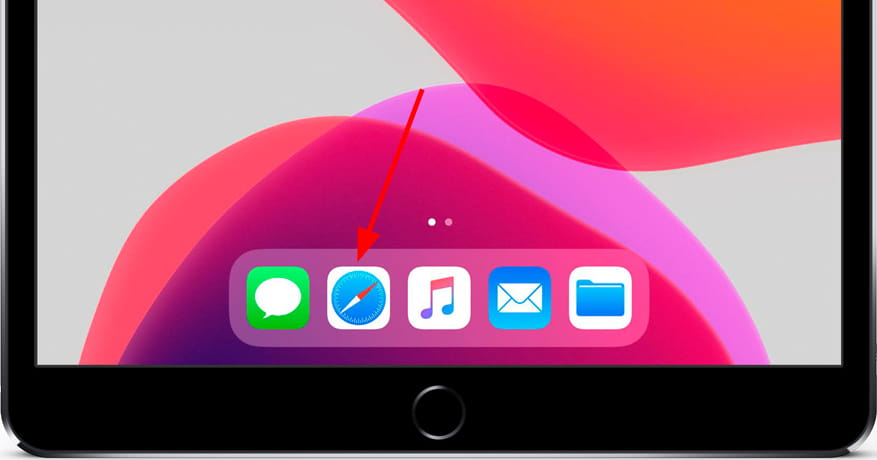
Open a browser on your Apple iPad Wi-Fi, for example Safari which is the default built-in web browser.
2- Second step:
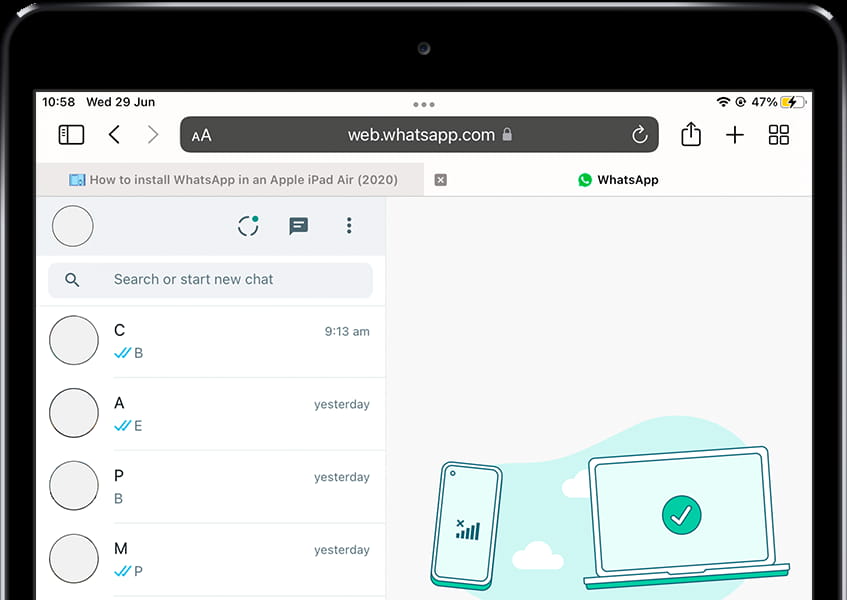
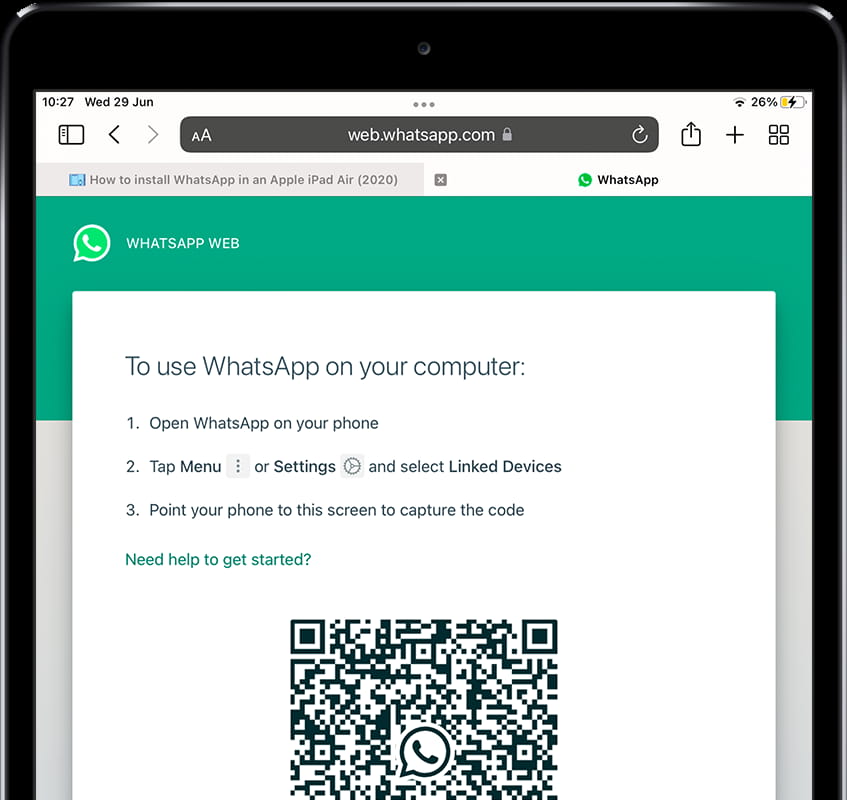
Access the following web address: https://web.whatsapp.com from the Apple iPad Wi-Fi. A QR code will appear that you will use later to link your WhatsApp account to this browser, in case you have an account already started, the list of your conversations will appear.
3- Third step:
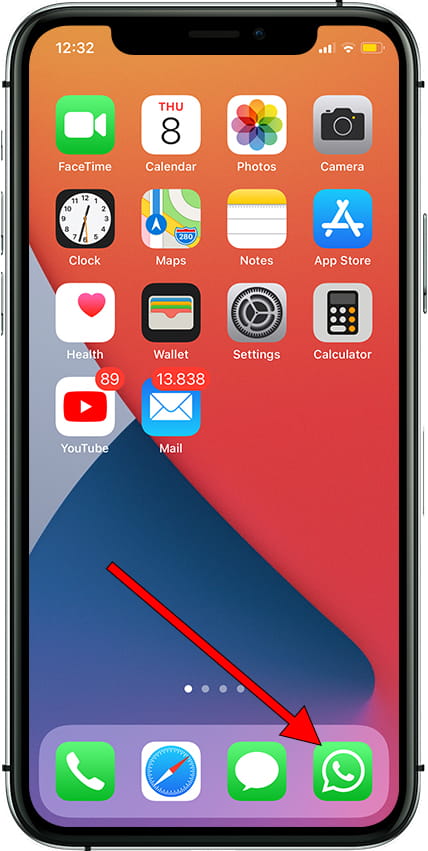
Open WhatsApp on your mobile phone, either an iPhone or Android device in which you must have it installed and with an internet connection to use WhatsApp on the Apple iPad Wi-Fi.
4- Fourth step:
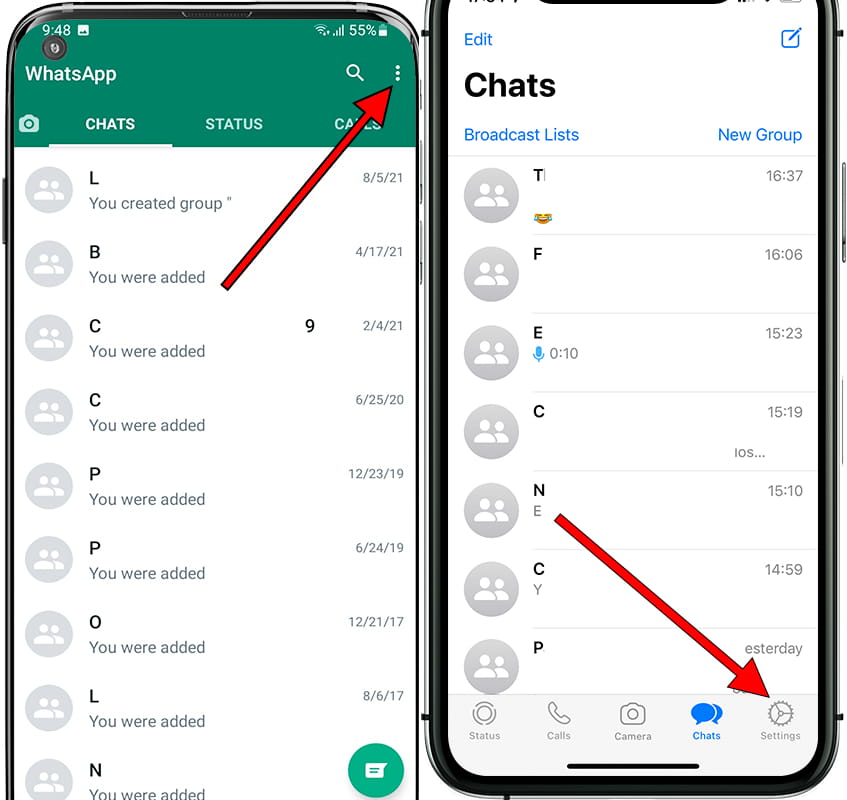
Tap Menu or Settings at the bottom right of the phone screen.
5- Fifth step:
Then click on “Linked Devices”.

6- Sixth step:
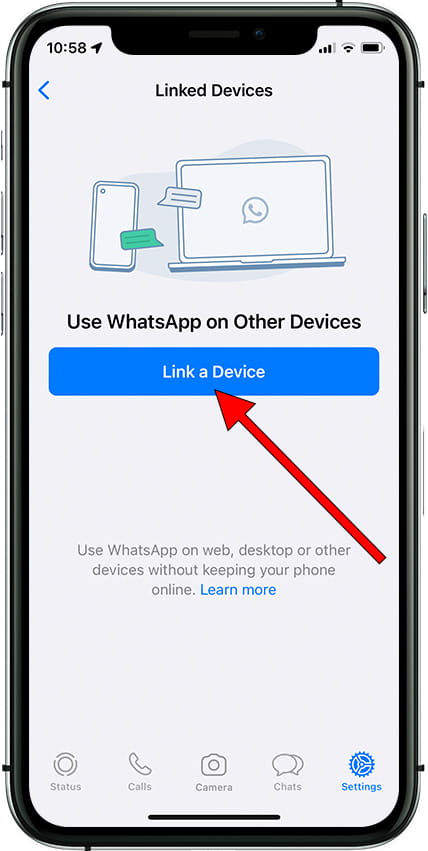
Click on "Link device". Here you will see the list of devices in which you have linked your WhatsApp account and you will be able to close the session in each of them.
7- Sixth step:
Point the mobile phone's camera at the code that appears in your iPad Wi-Fi to read the QR code.

8- Seventh step:
WhatsApp chats will open in your iPad Wi-Fi browser and you can start chatting more comfortably.
