Hard reset Blackview E7
How to hard reset or fully wipe Blackview E7
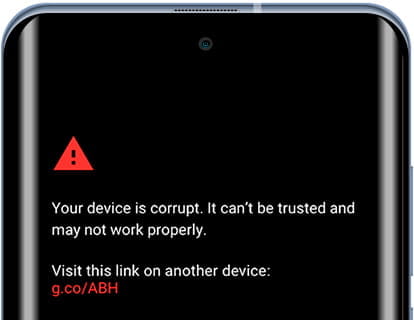
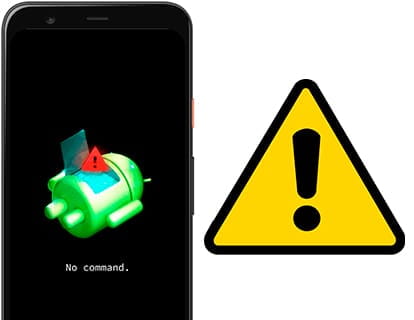
If your Blackview E7 does not turn on, it does not react, it shows an error message when it turns on or you want to sell it, give it away or take it in for repair and you want to make sure that all the content stored in its 16 GB (gigabytes) internal memory is erased, you will have to force its restoration.
Forcing the restore or doing a “hard reset” is a drastic method that can be used when the E7 settings cannot be accessed either because the password has been forgotten or the operating system is corrupted.
If you can access the settings of your E7 and want to perform a restore, it is preferable to do so using the “Reset” method, otherwise continue reading to see step by step how to force the reset, format or do a “hard reset”.
This procedure erases all the content stored on the E7 so if possible, you should make a backup copy of your data before proceeding and unlink the Google account.
Estimated time: 5 minutes.
1- First step:
First of all, turn off your Blackview E7 completely. If you can't unlock the screen, press and hold the power button for about 20 seconds and the phone will turn off.
2- Second step:
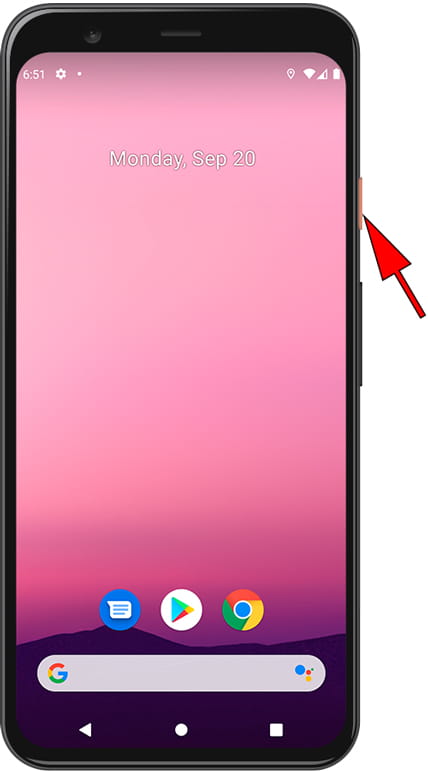
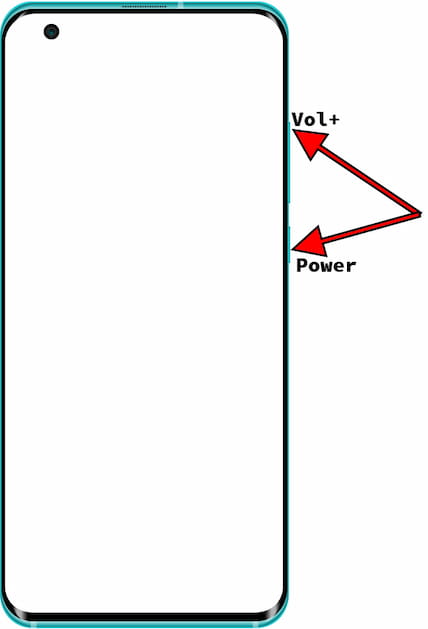
Simultaneously press the power key and the volume key down on the Blackview E7 for a few seconds. On some devices, depending on the Android version, the combination may be the power key and the volume key up.
3- Third step:
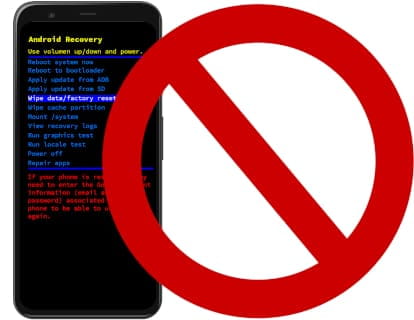
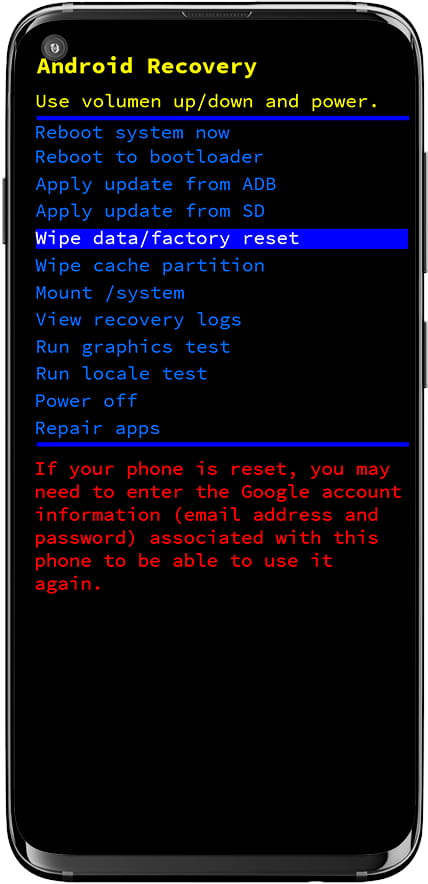
When the Blackview logo is displayed, release the buttons. In the following menu, the touch screen does not work, so you must move through the menu with the volume up and volume down keys until you reach the option "Wipe data/factory reset" and press the power button to access it.
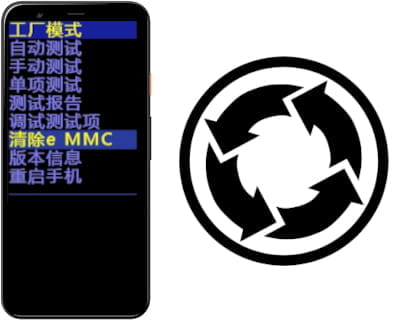
This menu is usually displayed in English, if the device menu appears in Chinese characters, see how to reset a mobile in Chinese.
4- Fourth step:
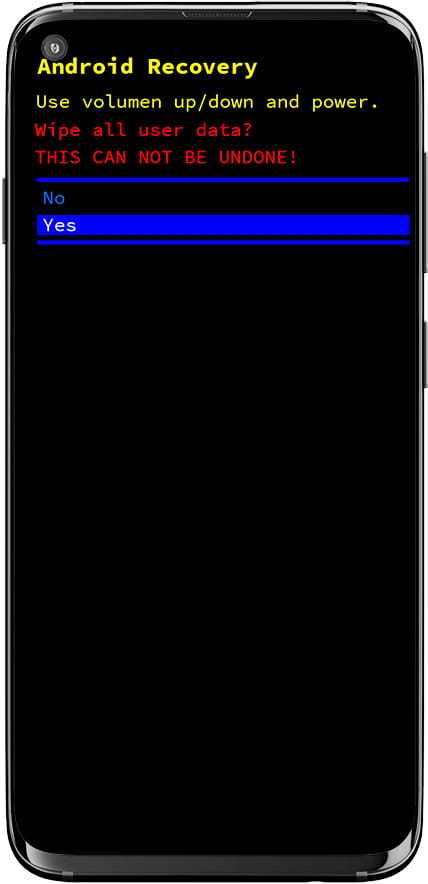
A warning message will appear to avoid hard reset the Blackview E7 by mistake. Use the Volume Up and Volume Down keys to select the "Yes" option and press the Power button to activate the option.
5- Fifth step:
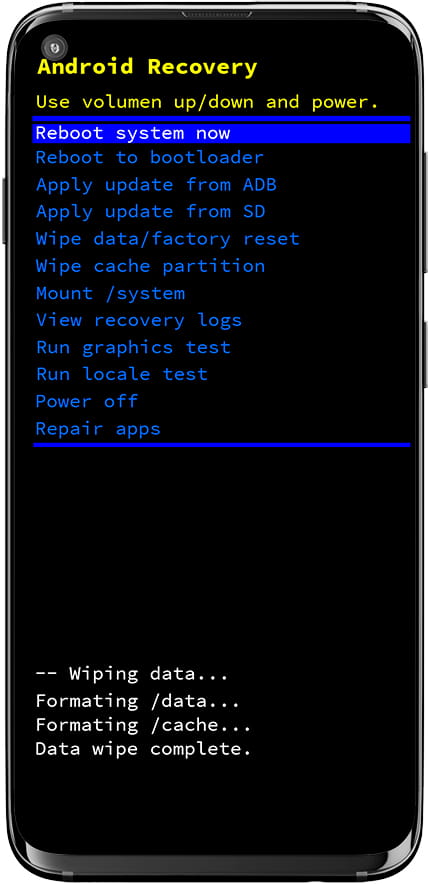
After a few seconds, the formatting and deletion of all data from the Blackview E7 will have been carried out, returning to its factory state, now it is necessary to restart the E7 so using the volume up and volume down buttons, move to the option "Reboot system now" and press the power button to proceed to the restart.
Keep in mind that depending on the country, model and firmware updates of the Blackview E7, the procedure may be slightly different.
If you have had problems performing a forced restore of the E7 , consult the following articles with frequent problems that appear below, if you cannot find a solution to your problem, consult the section “Frequently Asked Questions about Blackview E7” and leave your comment so that we can consult it and offer better service.
