Emergency call Samsung Galaxy Tab S9
Emergency calls on Samsung Galaxy Tab S9
It is important to have activated and configured both the medical data and the SOS emergency calls on your Samsung Galaxy Tab S9 since you never know when you are going to need it and it may be too late to make this configuration when it is necessary.
You will be able to make emergency calls to a contact without having to unlock the Samsung Galaxy Tab S9, even without having to take it out of your pocket by pressing a defined button a series of times.
On Samsung phones, you can also configure that, in addition to making the call, photos and a 5-second sound recording are automatically attached to a message to the contacts you have defined as emergency.
Estimated time: 2 minutes.
Table of Contents:
Configure emergency calls on Samsung Galaxy Tab S9
It is only possible to configure emergency calls for devices with a SIM or eSIM card since they make use of the call service through the GSM network or, failing that, it must be connected to a Wi-Fi network or via Bluetooth to another device that has a GSM connection or to the Internet.
1- First step:
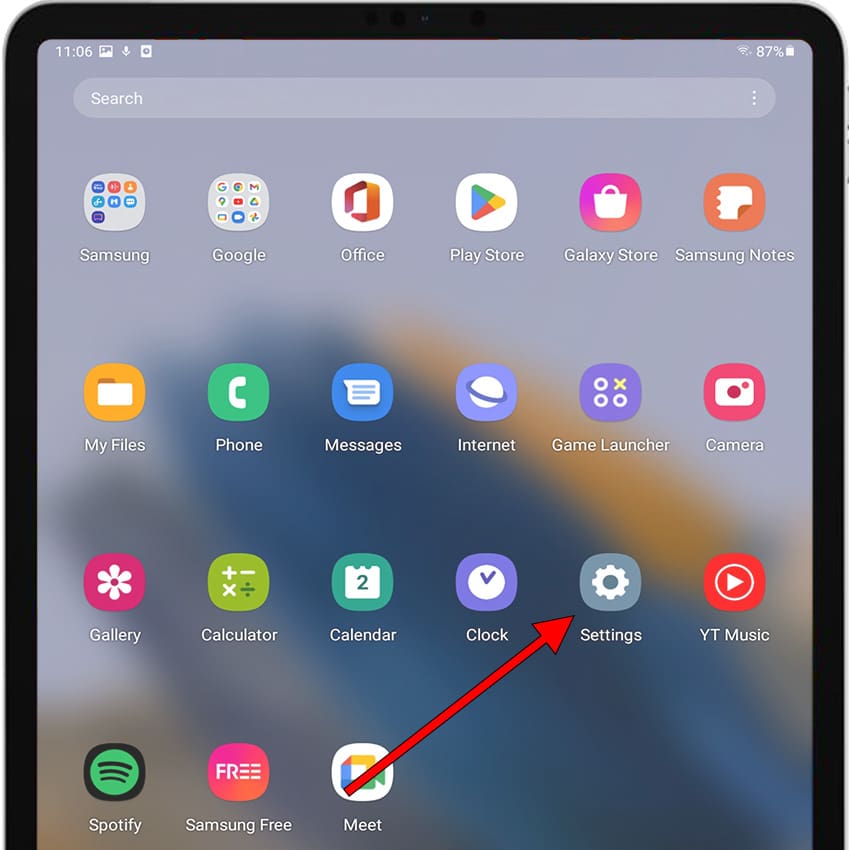
To start configuring SOS emergency calls on a Samsung Galaxy Tab S9, open the device settings. Look for a gear icon on your device's home screen. If you can't find it on the home screen, from the home screen, swipe up from the bottom to access all apps.
2- Second step:
Scroll down through the Samsung Galaxy Tab S9 settings until you find the “Advanced functions”. If you can't find it, press the magnifying glass icon or use the search engine at the beginning of the “Settings” section and look for “Advanced functions” or “SOS”.
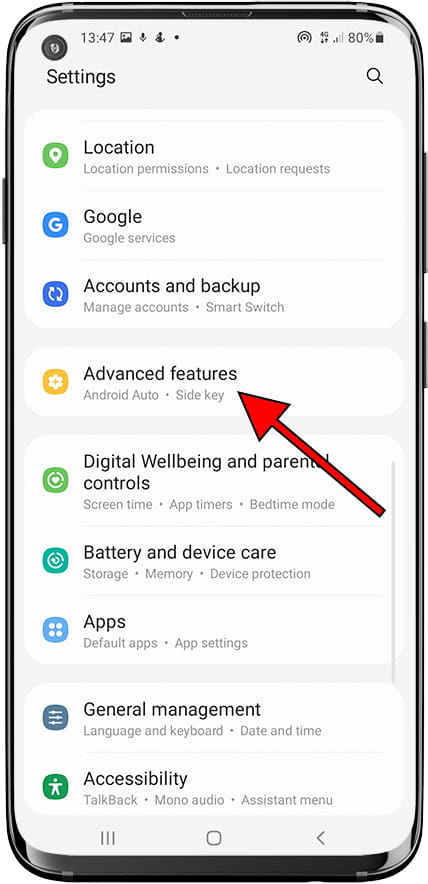
3- Third step:
Once inside the “Advanced functions”, go down to the last option called “Send SOS messages”. If the button appears gray, it is not activated yet, if it appears blue, it has already been configured previously. Press to access and see the configuration of emergency calls.
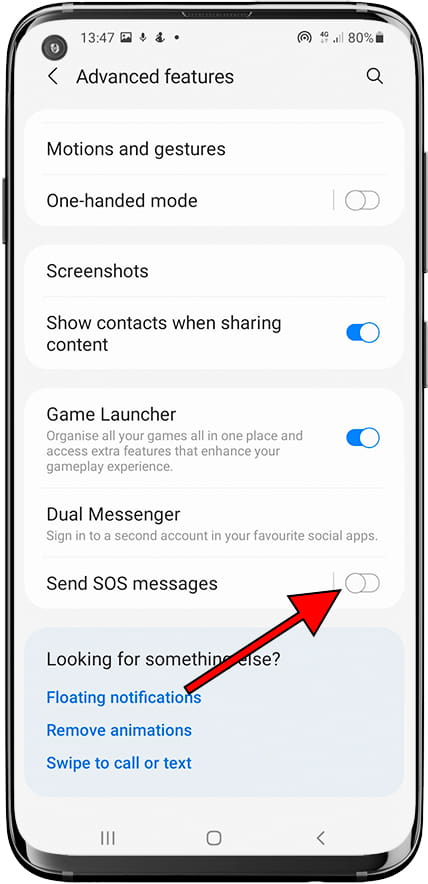
4- Fourth step:
Within the “Send SOS messages” section, you can check if it is activated or not. In the case of appearing as deactivated, click on the button on the right to activate it as it appears in the following image. When activated, the terms and conditions of the service will appear. If you have read the conditions of service and you agree, check the box and click on “I accept”.
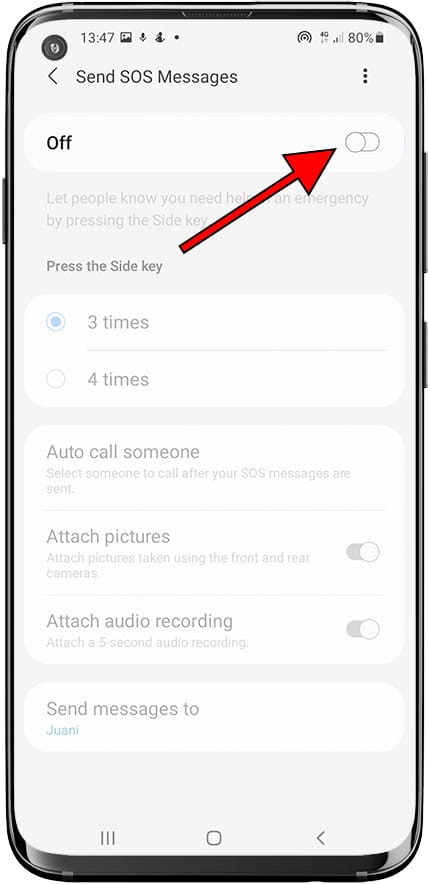
5- Fifth step:
If you do not have any contacts added, and the service has not been previously activated, the option to add the contacts to whom a text message will be sent when using the SOS call service will appear. You can choose to create a new contact or select one from the contact list. Click on one of the two options to continue.
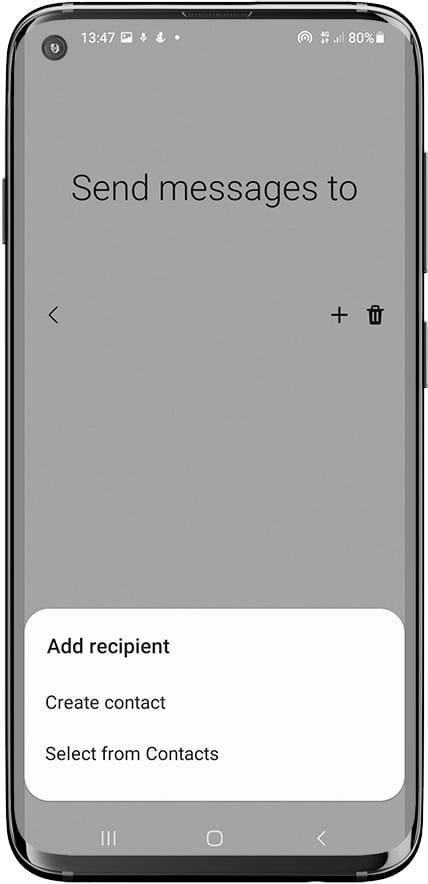
6- Sixth step:
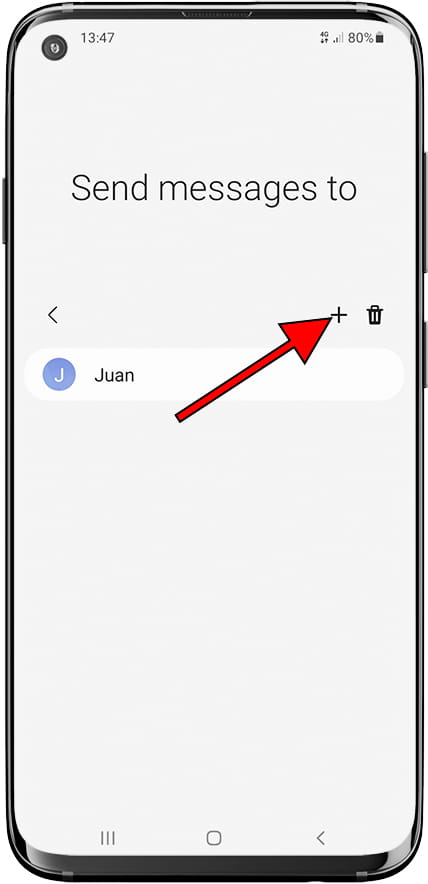
Find the first contact that you want to add to the list of contacts that will receive an emergency message or call from your Samsung Galaxy Tab S9. Once added you can continue adding more contacts by pressing the “+” button and repeat the process. Once all the desired contacts have been added, go back to continue with the configuration of SOS emergency calls and messages.
7- Seventh step:
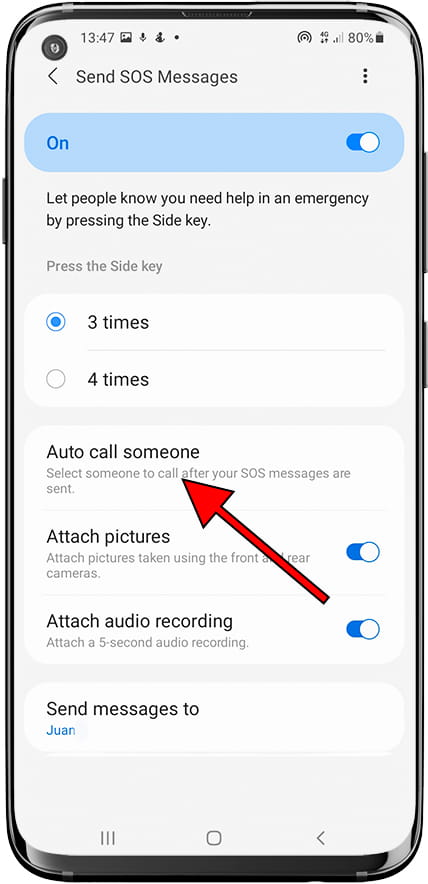
If you want, in addition to sending a text message, to make a call automatically in case of an emergency, click on the “Automatic call” section.
8- Eighth step:
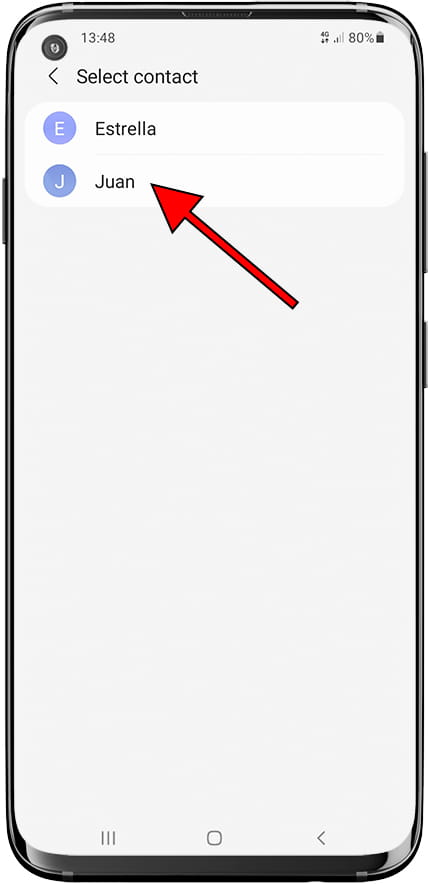
Select one or more contacts from the Samsung Galaxy Tab S9 phonebook to make the automatic call in case of an emergency.
9- Ninth step:
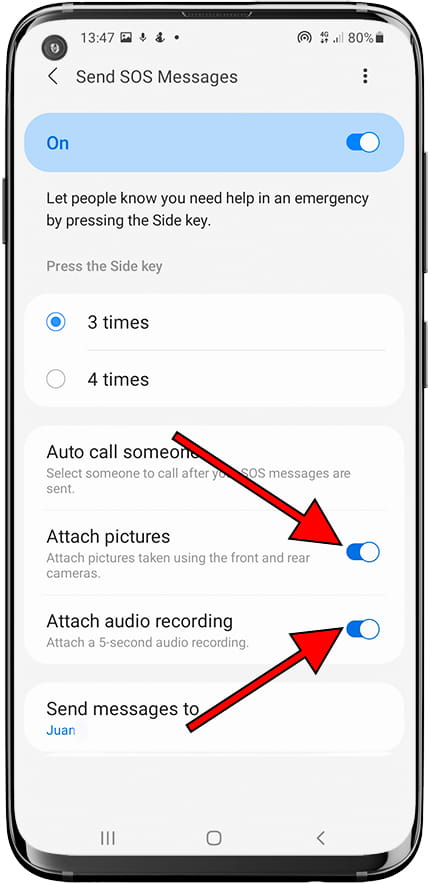
If, in addition to sending a message and making a call, you want to send images from the front and rear cameras and an audio recording, activate the corresponding boxes as you can see in the image shown below.
Make SOS call on Samsung Galaxy Tab S9
1- First step:
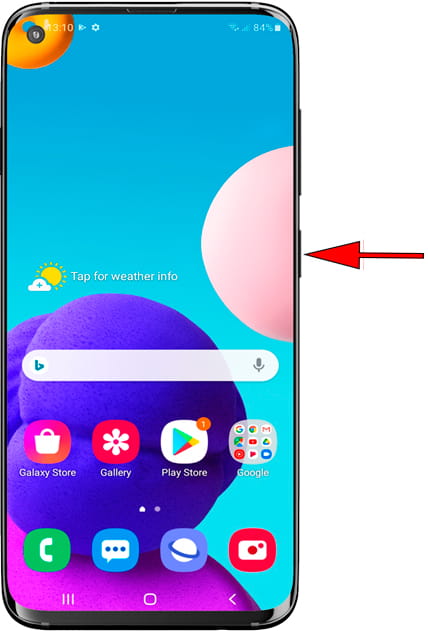
If you have activated the “Automatic call” and “Send messages to” option as indicated in steps five and seven of the previous tutorial, to make an emergency call you must press 3 or 4 times in a row the power button of the Samsung Galaxy Tab S9 (depending on what you configured in step 7). It is not necessary to have the phone unlocked to do it, you can do it at any time without taking the phone out of your pocket or bag.
2- Second step:
If you do not click on “Cancel” the emergency message and SOS call to the contacts that you have defined in the configuration will be sent in 10 seconds.

Disable emergency calls on Samsung Galaxy Tab S9
To deactivate SOS calls and messages on your Samsung Galaxy Tab S9, deactivate “Send SOS messages” from the advanced functions of the settings indicated above in step 3 of Set up emergency call.

